Graduation day is right around the corner and it’s time to think about that all-important leavers shirt! This is more than just a piece of clothing; it’s a canvas for your creativity and a keepsake that represents unforgettable memories. Each shirt tells a story, whether it’s through unique designs, personal quotes, or colorful artwork. With some DIY magic, you can transform a plain shirt into a stunning statement piece that your friends will rave about. Let’s explore a variety of DIY leavers shirt ideas that will not only reflect your personal style but also add a fabulous touch to your graduation celebrations.
From classic tie-dye to bold fabric paint splashes, these ideas are sure to inspire your imagination and make your leavers shirt truly one-of-a-kind. So grab your crafting supplies and let’s get started on a memorable DIY project that will make your graduation day even more special!
Contents
- 1. Classic Tie-Dye
- 2. Personalized Fabric Paint Designs
- 3. Iron-On Transfers
- 4. Hand-Embroidery Touch
- 5. Graffiti-Inspired Designs
- 6. Themed Collage Shirt
- 7. Signature Space
- 8. Upcycled Vintage Touch
- 9. Bold Graphic Prints
- 10. Minimalist Monochrome Style
- 11. Nature-Inspired Prints
- 12. Funky Patchwork
- 13. Retro Band Tee Style
- 14. Ombre Fade Effect
- 15. Layered Fabrics
- 16. DIY Rhinestone Accents
- 17. Colorful Stencil Art
- 18. Custom Name and Year
1. Classic Tie-Dye
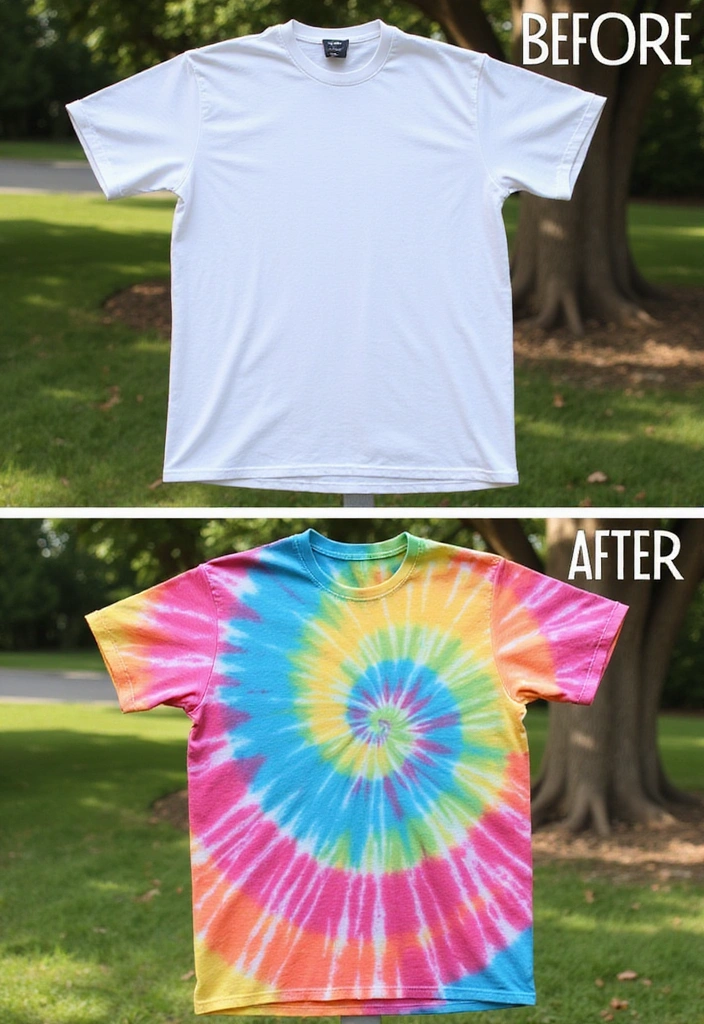
Nothing says fun like a classic tie-dye shirt! This DIY project is not only easy but also allows for endless color combinations. You’ll need some fabric dye, rubber bands, and a plain white shirt to get started. The Fabric Dye Kit is a great choice for adding vibrant colors to your creation. You can mix colors that represent your school or reflect your personal taste.
To make your shirt, start by twisting or folding it in different ways and securing it with rubber bands. This step is essential for creating those unique swirls or stripes. Each shirt will turn out completely different, making your design truly one-of-a-kind!
Don’t forget to use a plain white t-shirt as your canvas; the ultra cotton material helps the dye adhere beautifully for a vibrant finish. Remember to wear gloves to keep your hands clean, and be sure to rinse the shirt thoroughly before wearing it. Tie-dye shirts are not only trendy but also evoke a nostalgic vibe that many will love, plus they make for great photos!
– Use natural dyes for a more eco-friendly approach.
– Experiment with different folding techniques for varied patterns.
– Layer colors for a more complex design.
– Always follow safety instructions on the dye packaging.
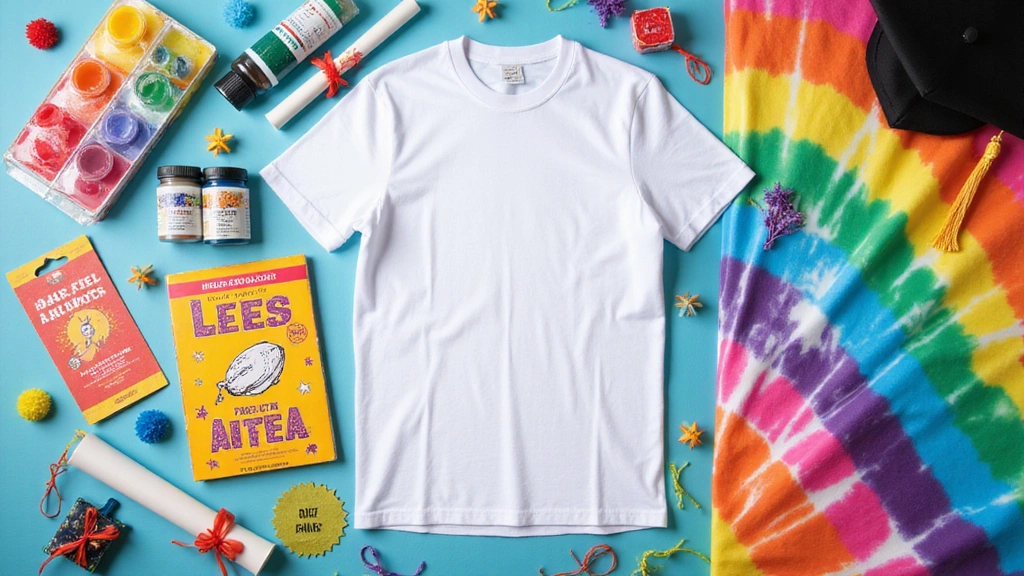
2. Personalized Fabric Paint Designs
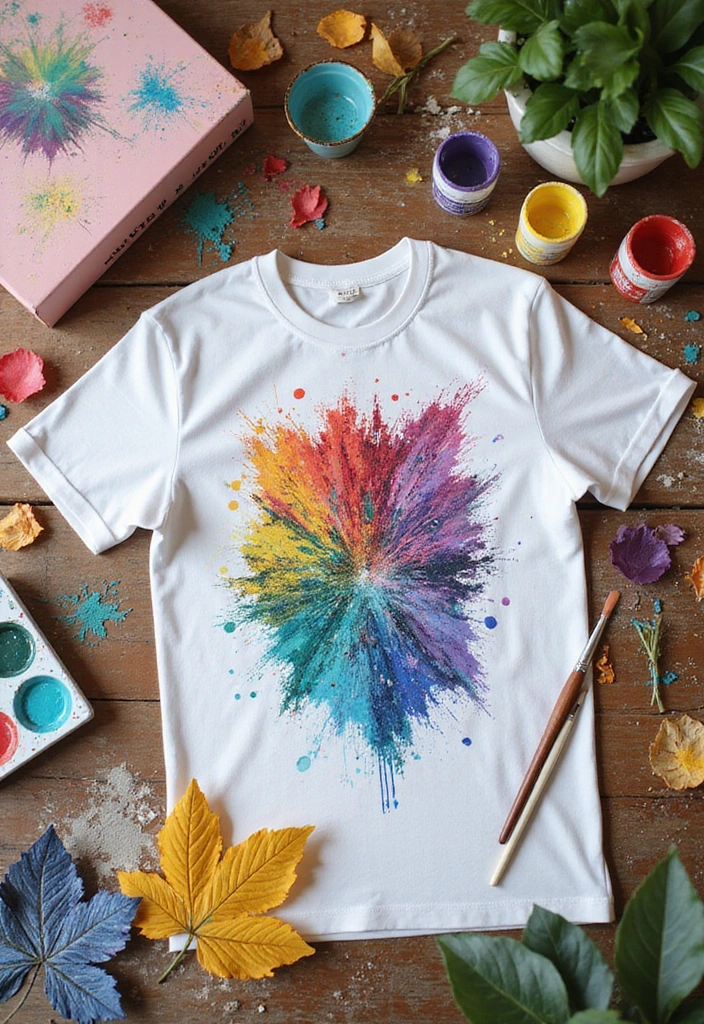
Unleash your inner artist with fabric paints! You can use stencils, brushes, or even your fingers to create eye-catching designs on your shirt. Start with a basic color palette, like the Fabric Paint Set, which includes 18 vibrant colors and helpful tools like brushes and stencils, allowing you to let your imagination flow. Draw your favorite quotes, doodles, or even symbols that represent your school experience.
For a neat finish, consider outlining your designs with a contrasting color. Additionally, fabric paint is great for layering, which helps create depth and texture in your artwork. Once your design is complete, let it dry completely so you can wear it with pride without worrying about smudging.
To help refine your designs, using stencils for fabric painting can provide structure and precision. These reusable letter stencils come in a variety of shapes and sizes, perfect for crafting personalized messages on your shirt.
If you prefer fine details, permanent markers for fabric are an excellent choice. Their fine point allows for intricate designs and touch-ups that will make your artwork truly stand out.
Remember to plan your design on paper first to visualize it. After you’ve created your masterpiece, wash your shirt inside out to preserve the design.
3. Iron-On Transfers
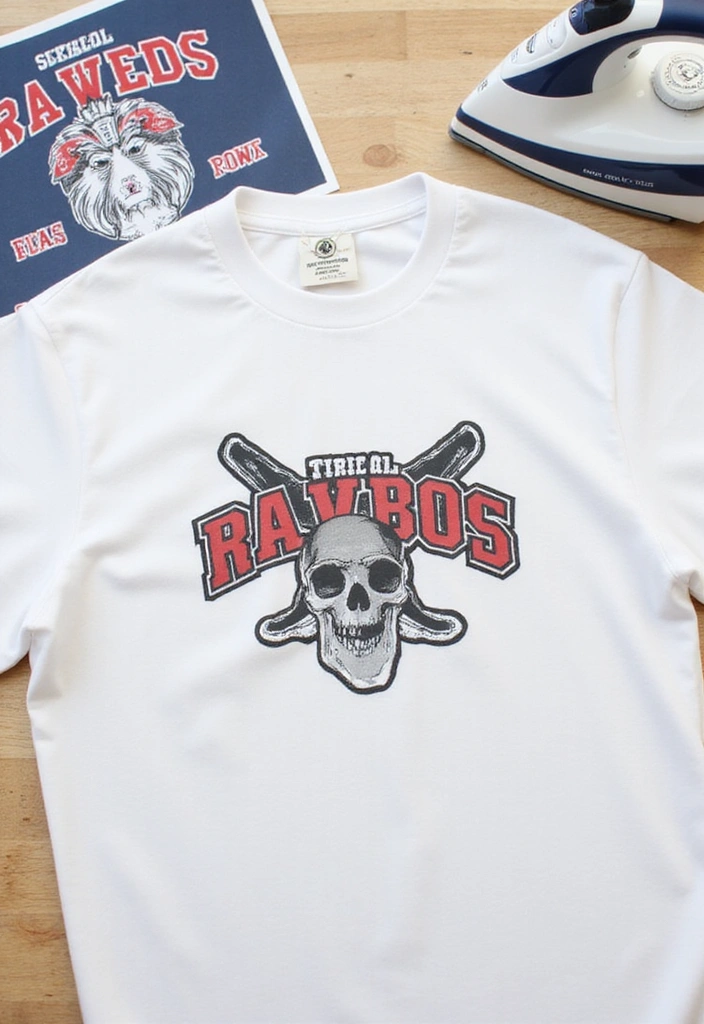
Iron-on transfers are a fantastic way to add intricate designs to your leavers shirt without the mess of paint. You can find pre-made designs or create your own using printable transfer paper, like the printable iron-on transfer paper. Simply print your design, cut it out, and follow the instructions to iron it onto your shirt.
This method is perfect for those who may not feel confident in their drawing skills but still want a custom look. Choose designs that reflect your interests or memories from school, like a favorite quote or mascot. Using high-quality transfer paper will ensure a lasting finish that you can be proud of.
To further enhance your design process, consider using a heat press machine like the Cricut EasyPress 2, which offers precise temperature control and is ideal for applying transfers. This ensures that your designs adhere perfectly without any risk of burning or uneven application.
You can also experiment with different fonts and graphics by utilizing software like design software for custom graphics, such as Corel PaintShop Pro 2023. It provides powerful editing tools that can help you create stunning, personalized graphics to make your shirt truly unique.
Feel free to layer designs for a more dynamic appearance, or consider using photos that capture special moments. Just remember to always allow the transfer to cool before peeling it off for the best results.
4. Hand-Embroidery Touch
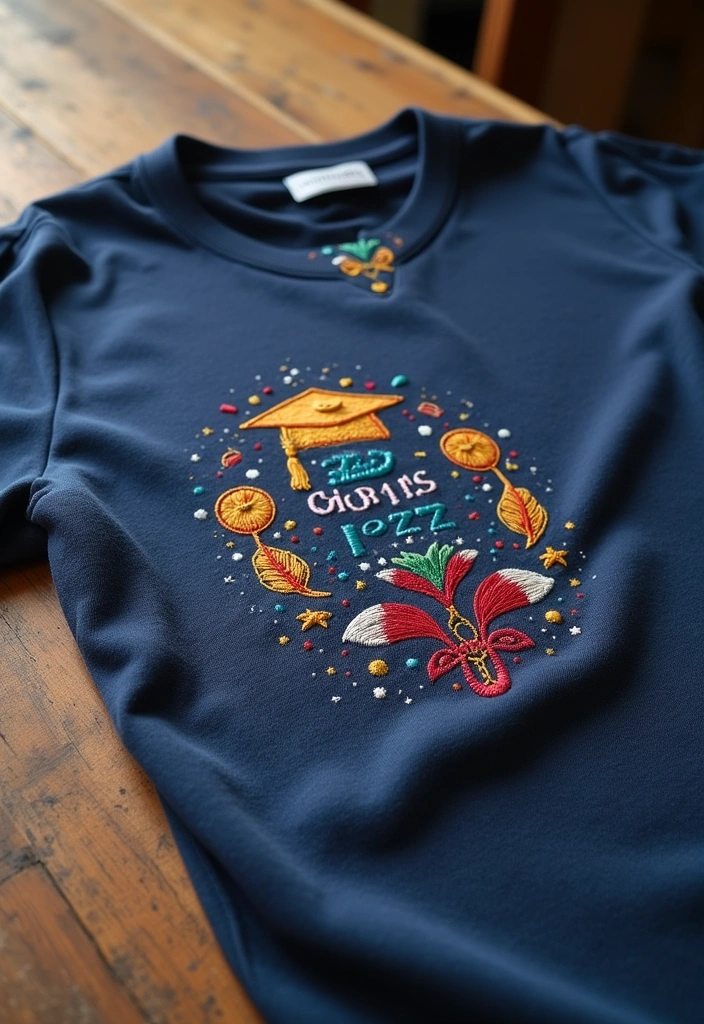
For those who love sewing, hand embroidery is a charming way to personalize your leavers shirt. Using colorful threads, you can stitch your name, graduation year, or even small illustrations that tell a story about your school journey. Embroidery adds texture and a handmade quality that can’t be replicated, making your shirt a true keepsake. To get started, you’ll want an embroidery hoop set to keep your fabric taut while you work. This set includes various sizes, allowing you to choose the perfect size for your designs.
If you’re new to embroidery, start with simple patterns and gradually work your way up to more complex ones. An excellent resource is the beginner’s guide to hand embroidery book, which offers step-by-step instructions for 30 favorite stitches, along with tips and techniques to enhance your skills.
When it comes to thread, the embroidery thread kit is perfect for your projects. This kit includes over 200 colorful floss options that will help your designs pop. Play with color patterns for more visual interest, and don’t forget to knot the threads securely at the back to ensure your creations stay intact. This method instills a deep sense of pride in your work, making your shirt a treasured keepsake.
5. Graffiti-Inspired Designs
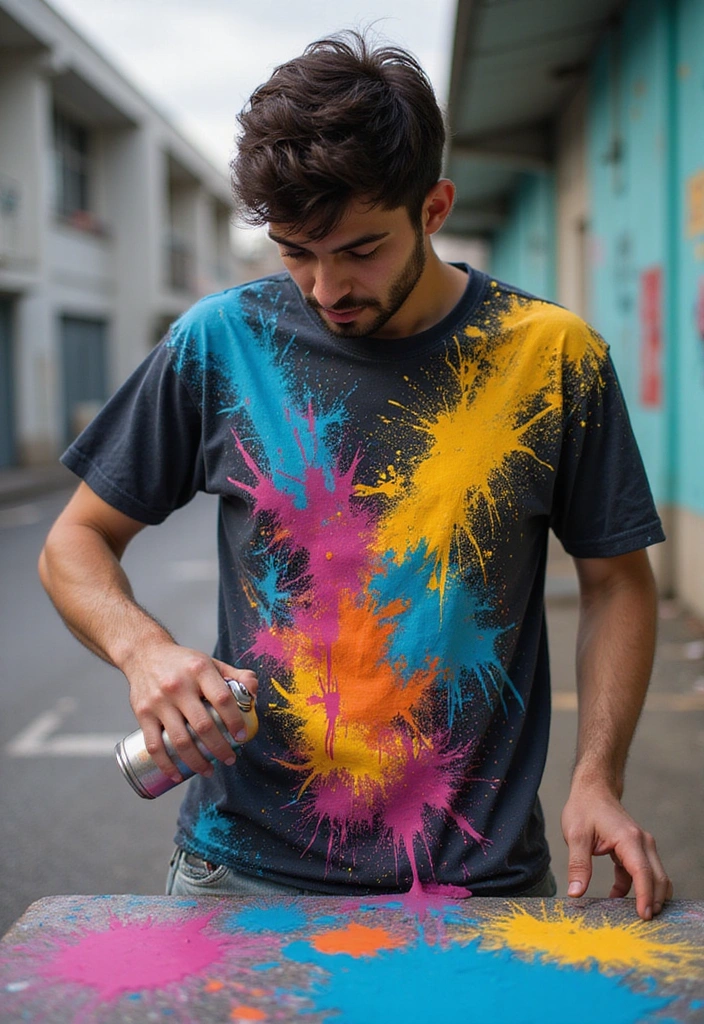
Bring urban art to life on your leavers shirt with graffiti-inspired designs! This bold style allows you to express your personality in a fun and rebellious way. Using Fabric Spray Paint Set in vibrant colors, you can create big, bold letters or abstract designs that really pop. You might want to sketch your ideas on paper before spraying to get a clear vision. This art form is all about being loud and vibrant, so don’t hold back!
Try a mix of neon colors for that extra street-style edge, and consider using stencils for fabric art to achieve sharper lines and defined shapes. This can turn your leavers shirt into a true work of art.
Make sure to shield areas you don’t want to spray by using cardboard, and don’t forget to layer colors for added depth and complexity. Take your time with design placement to ensure everything is just right. And remember, spray outdoors or in a well-ventilated area for the best results! If you’re looking for detailed work, consider using fabric markers set for finer details that can elevate your design even further.
6. Themed Collage Shirt
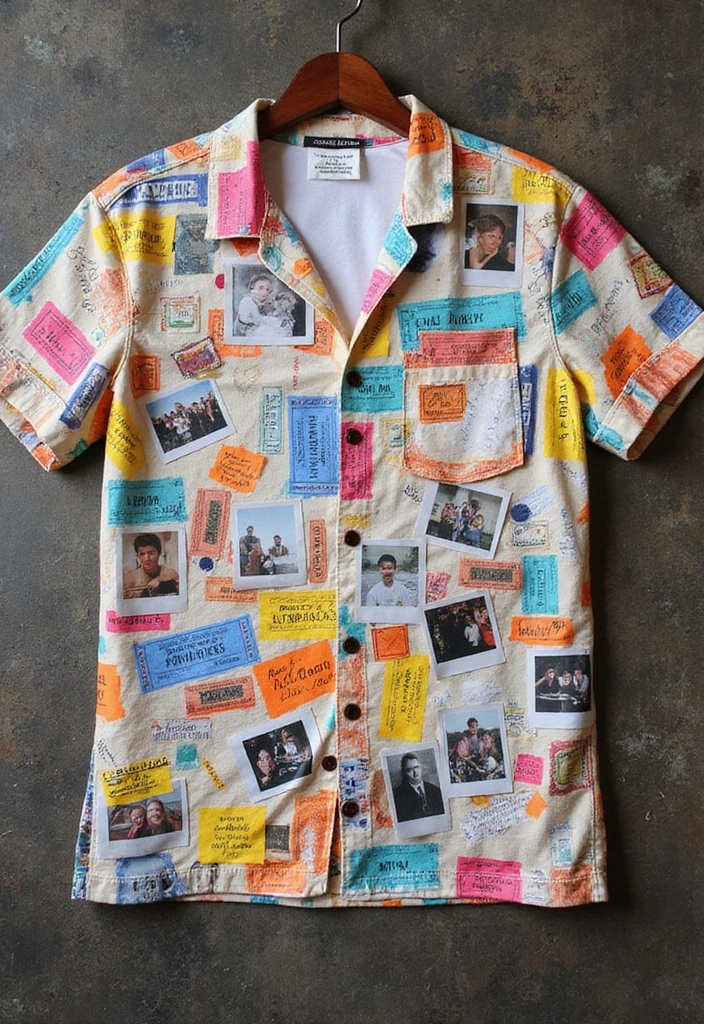
A collage shirt is a unique way to combine all your favorite memories into one stunning piece! Start by gathering photos, ticket stubs, and memorabilia that represent your school years. To attach your photos, consider using Liquitex Professional Effects Medium, fabric medium for photo transfer. This product helps to ensure that your images adhere seamlessly to the fabric, allowing you to create a lasting display of your cherished moments.
For additional items like ticket stubs or fabric patches, fabric-safe glue is an excellent choice. This washable clear clothing glue provides a strong bond for various materials, keeping everything securely in place.
To make your design even more vibrant, consider adding Fabric Paint, Shuttle Art 18 colors permanent soft fabric paint set. This set comes with brushes and palette options, allowing you to fill in gaps and add personal touches that reflect your style.
Arrange your items in a way that tells a story, layering them for depth. Be sure to seal everything properly so it lasts through the years. This way, your shirt becomes a wearable scrapbook! Always choose high-quality images for the best results, and have fun expressing your personality on this special day!
7. Signature Space

Create a unique leavers shirt by leaving a designated ‘signature area’ for friends to write their messages. This idea not only personalizes your shirt but also makes it a fun interactive piece on graduation day! Use fabric markers designed for clothing, allowing your classmates to leave their names, memorable quotes, and doodles.
To give your signature area a defined look, consider outlining it with fabric paint. This will not only enhance the visual appeal but also ensure that your classmates’ messages stand out. Make sure to set some rules, like writing only in that area, to keep everything organized. Plus, this shirt will become a cherished memory, capturing the essence of your friendships and shared experiences in one place.
– Pick bright colors for the signature area to make it stand out.
– Allow space for everyone to write comfortably.
– Consider a fun theme, like a yearbook vibe.
– After graduation, protect those heartfelt messages with fabric sealant to preserve them for years to come.
With these simple tools, you’ll create a memorable keepsake that reflects your time together.
8. Upcycled Vintage Touch
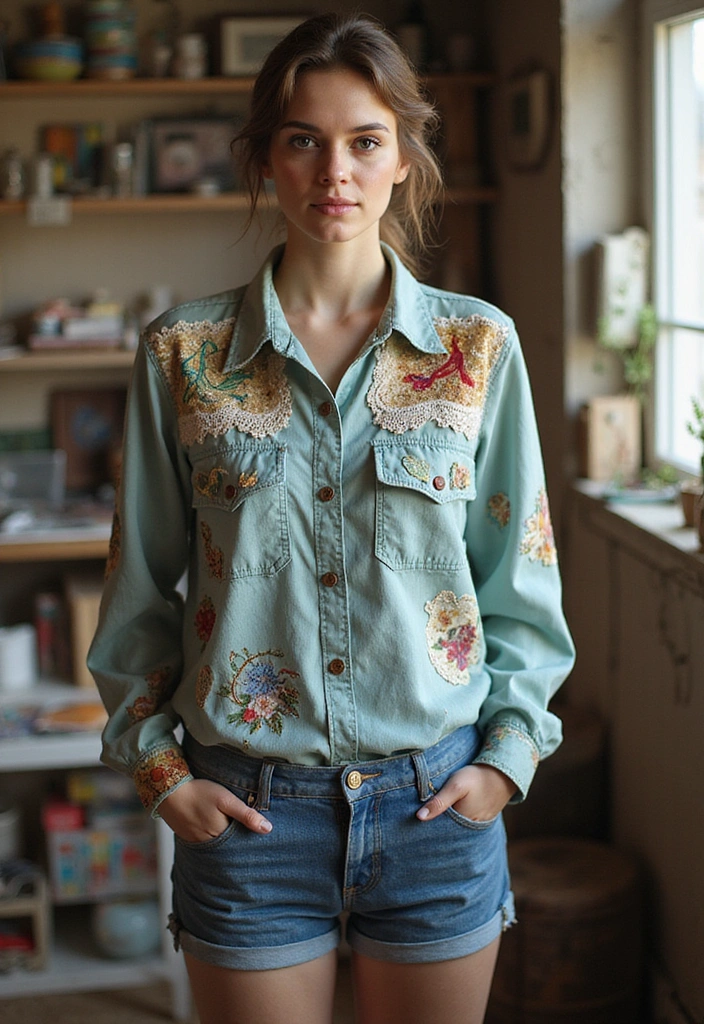
Upcycling is not only trendy but also environmentally friendly! Take an old shirt or a thrift store find and give it a fresh lease on life. You might add patches that represent your school or other meaningful symbols using fabric glue. This super adhesive makes it easy to attach patches securely, ensuring they stay put on your DIY masterpiece.
Consider cutting the shirt into a trendy cropped style or adding lace or ruffles for a feminine touch. A sewing kit can come in handy for any stitching projects, providing you with essential supplies like thread and needles to perfect your design.
This is a fantastic way to express your personal style while being sustainable. Mixing old and new fabrics can create a beautiful contrast that showcases your creativity. Use fabric paint to add additional graphics, allowing you to customize your shirt further. Layer different fabrics for a mixed-media effect, and don’t shy away from experimenting with patterns and textures!
Always wash and prep your fabrics before starting to ensure the best results. Happy crafting!
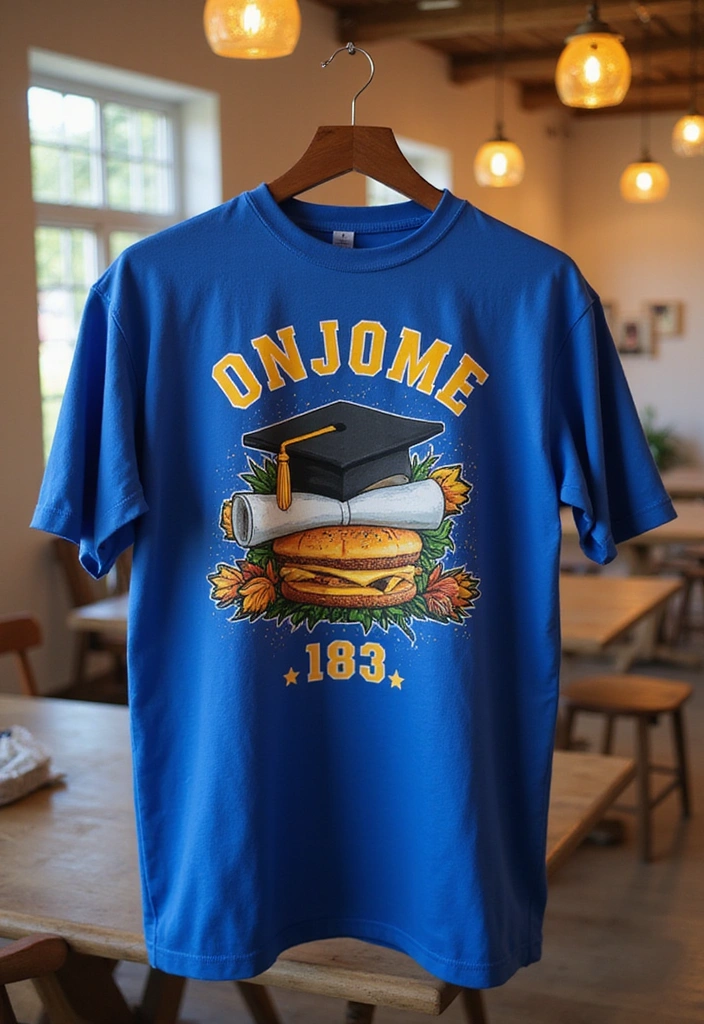
9. Bold Graphic Prints

Make a statement with bold graphic prints! You can either hand-draw or use stencils, like the stencils for fabric painting, to create giant letters or images that celebrate your achievements. Think of incorporating your school colors, mascot, or a meaningful quote that sums up your school experience.
Use fabric markers, such as the fabric markers set, to fill your design. This style stands out and leaves a lasting impression. Be sure to choose a font or graphics that resonate with your personality and what you want to convey. Large designs tend to be eye-catching and can turn your leavers shirt into a work of art.
– Experiment with different sizes for your designs.
– Consider layering colors for added impact.
– Choose a shirt color that contrasts well with your graphic. A great option could be the plain cotton t-shirts for a clean canvas.
– Plan your layout before committing to avoid misplacement.
With these tools, you’ll be well-equipped to unleash your creativity on graduation day!
10. Minimalist Monochrome Style
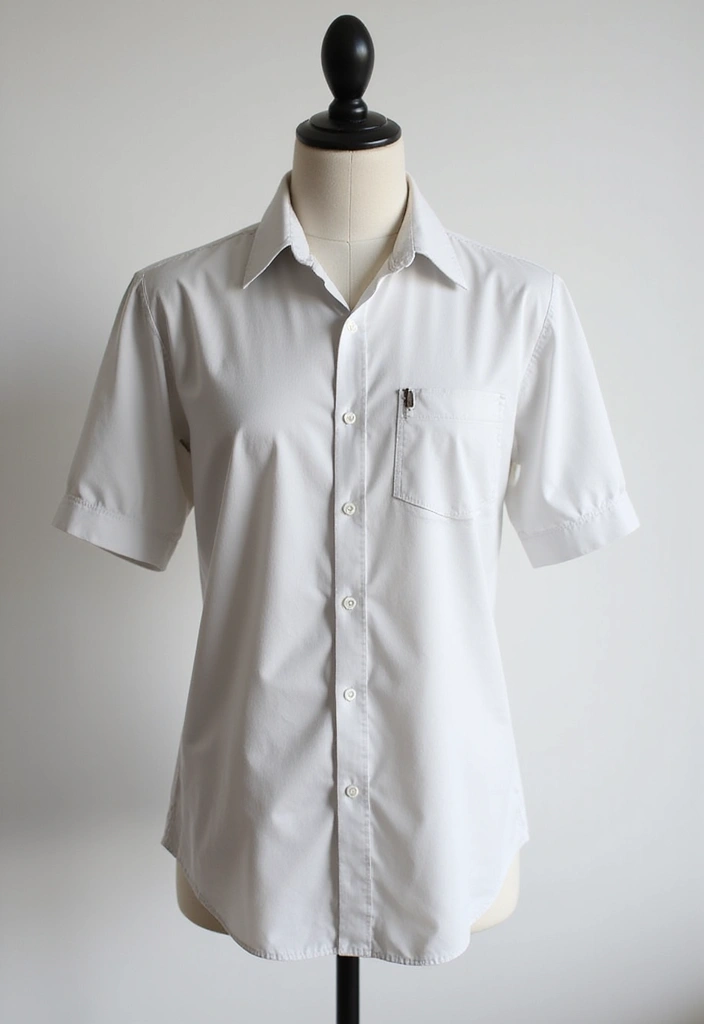
If you prefer a more subtle approach, go for a minimalist monochrome style. This design allows you to express elegance with a simple yet striking look. Choose a single color for your shirt and use a slightly contrasting hue for your design.
You can incorporate clean lines or simple shapes, or even just your initials in a stylish font. This style is perfect for someone who appreciates a more sophisticated aesthetic. Minimalist designs can be quite impactful, allowing the wearer to shine without overwhelming patterns.
To achieve this look, consider using high-quality fabric paint, like the Shuttle Art 18 Colors Permanent Soft Fabric Paint set, which provides a range of colors to help you create the perfect design. The set includes brushes and stencils, making it easy to bring your vision to life while ensuring a sleek finish.
Pair your fabric paint with plain cotton t-shirts that serve as a blank canvas for your creativity. Opting for high-quality cotton ensures a comfortable fit that will last through graduation day and beyond.
To add an extra level of finesse, you can utilize fabric stencils for DIY designs. These reusable alphabet templates allow you to create precise lettering and shapes, helping you maintain that minimalist vibe.
– Stick to two colors for a cohesive look.
– Use high-quality fabric paint for a sleek finish.
– Consider incorporating textures through fabric choices.
– Keep the design small and strategically placed for maximum effect.
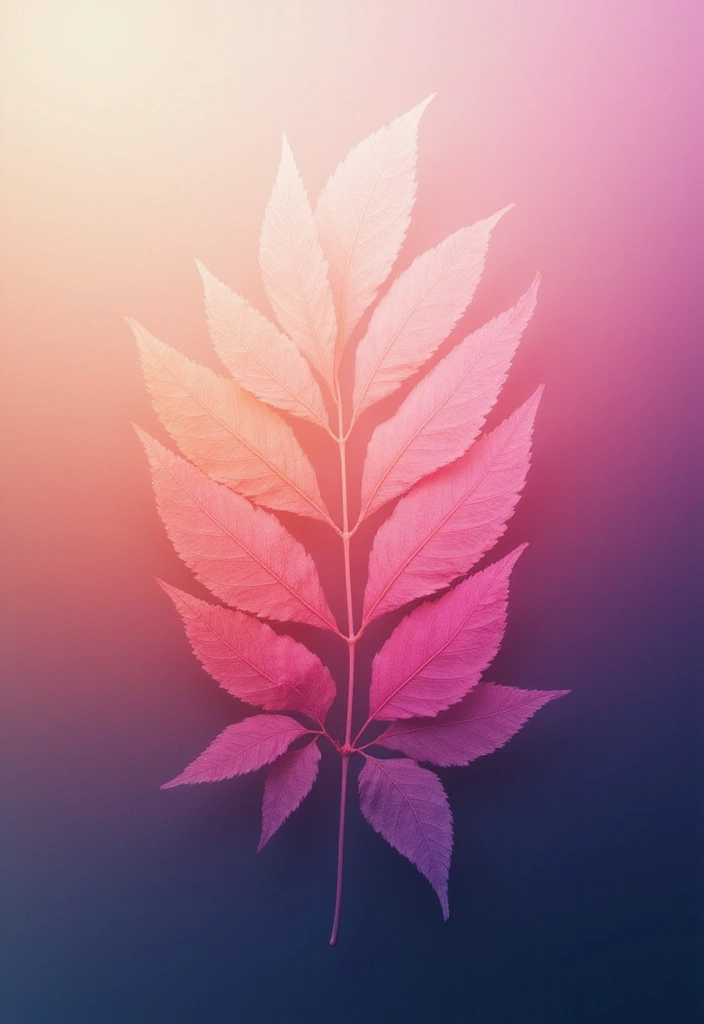
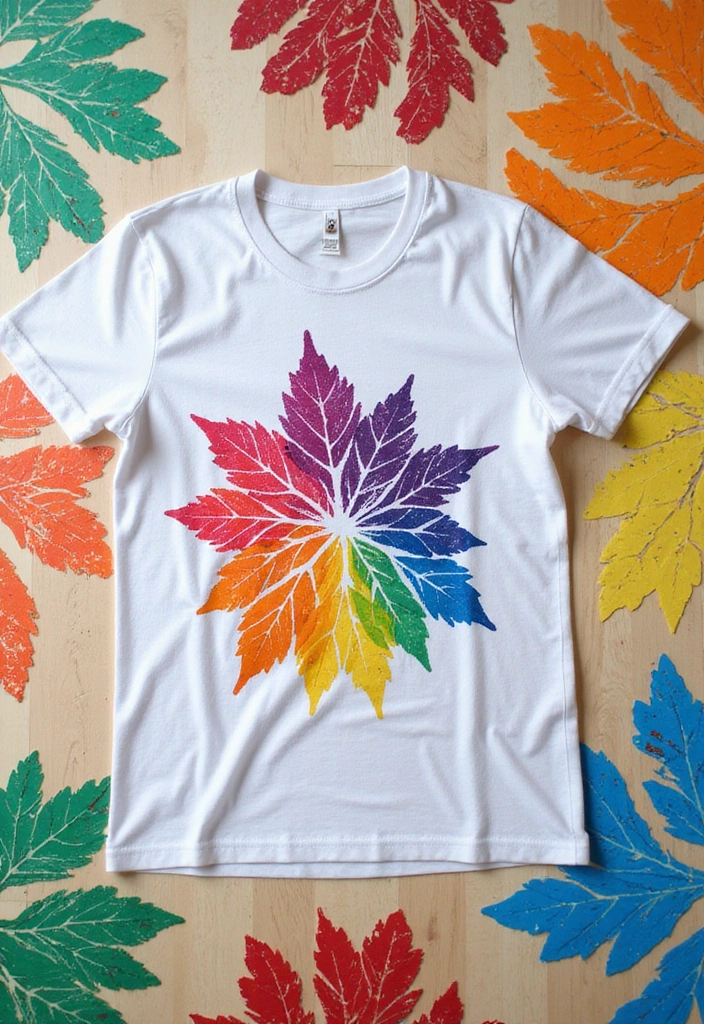
11. Nature-Inspired Prints
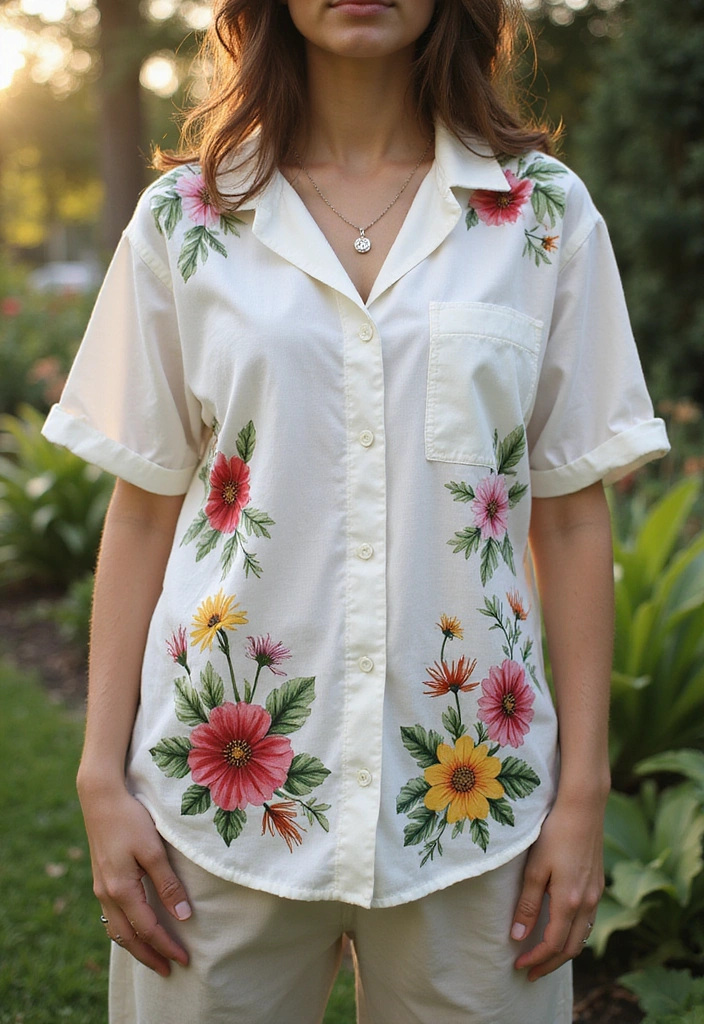
Channel your inner nature lover with a nature-inspired print! Use leaves, flowers, or even animal silhouettes as your design theme. For a unique touch, consider using natural dyes from plants with the Indigo & Shibori natural dye kit, which allows you to create beautiful, eco-friendly patterns. Alternatively, hand-paint floral designs using Fabric Paint Set, which comes with multiple colors and helpful supplies like brushes and stencils.
This design celebrates the beauty of nature and can represent personal growth during your school years. Nature motifs can be vibrant or soft, depending on your style, and are perfect for those wanting something fresh and unique, setting your shirt apart from the crowd.
– Use Nature Stencil Set for precision if needed.
– Mix different nature elements for a varied design.
– Choose colors that reflect the changing seasons.
– Think about adding embellishments like beads to enhance the natural theme.
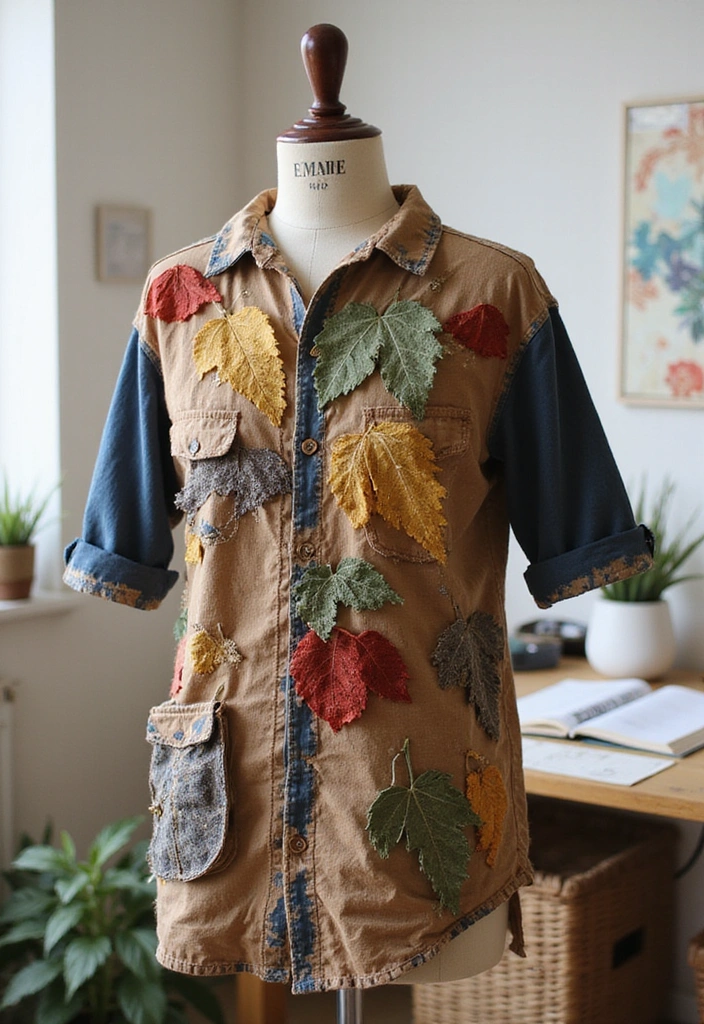
12. Funky Patchwork
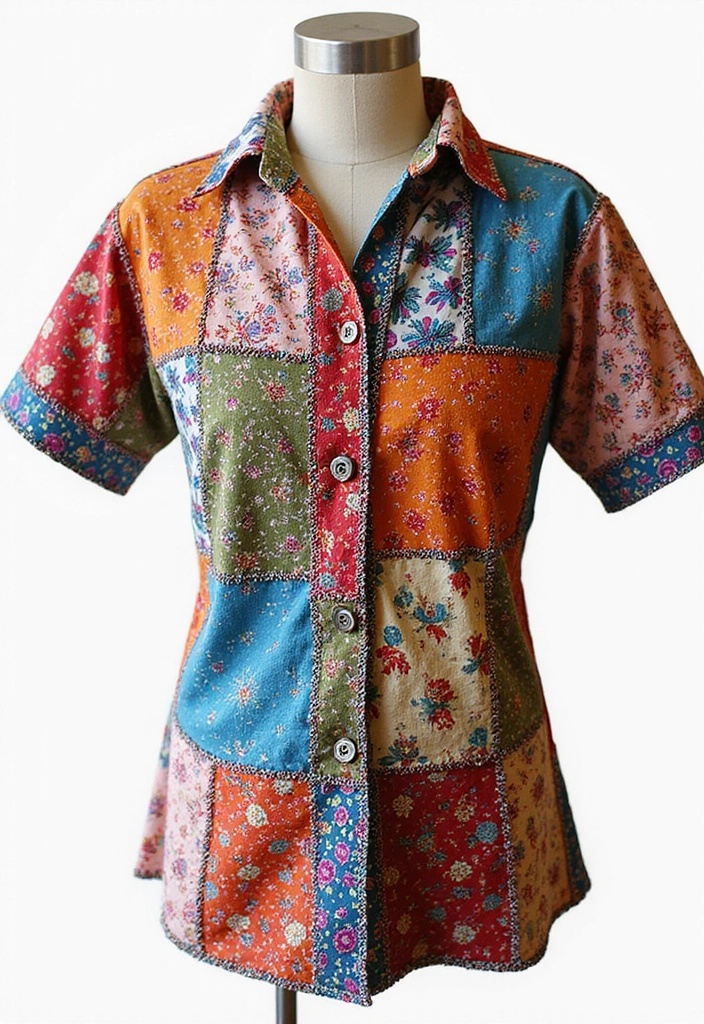
Patchwork is back in style, and it’s a fantastic way to show off your creativity! Gather different fabric scraps in various colors and patterns to create an eclectic look on your leavers shirt. You can use a fabric scraps bundle that includes assorted craft fabric squares, perfect for mixing and matching textures and patterns. This approach is not only visually appealing but also a great way to utilize leftover materials from other projects.
Each patch can tell a story or represent different aspects of your school experience. This style allows for a lot of freedom, so don’t hold back! For a seamless application, consider using fabric glue to securely attach your patches. This washable clear fabric adhesive works well on various materials, ensuring your design holds up throughout your graduation celebrations.
For an extra touch, think about stitching around the edges of each patch for a handmade feel. A handy sewing kit can be perfect for this task, providing you with essential tools like thread, needles, and scissors to help you create a polished finish.
– Play with patterns to create contrast.
– Mix textures for a more dynamic look.
– Use a color palette that represents your school spirit.
– Layer colors for depth in your design.
13. Retro Band Tee Style
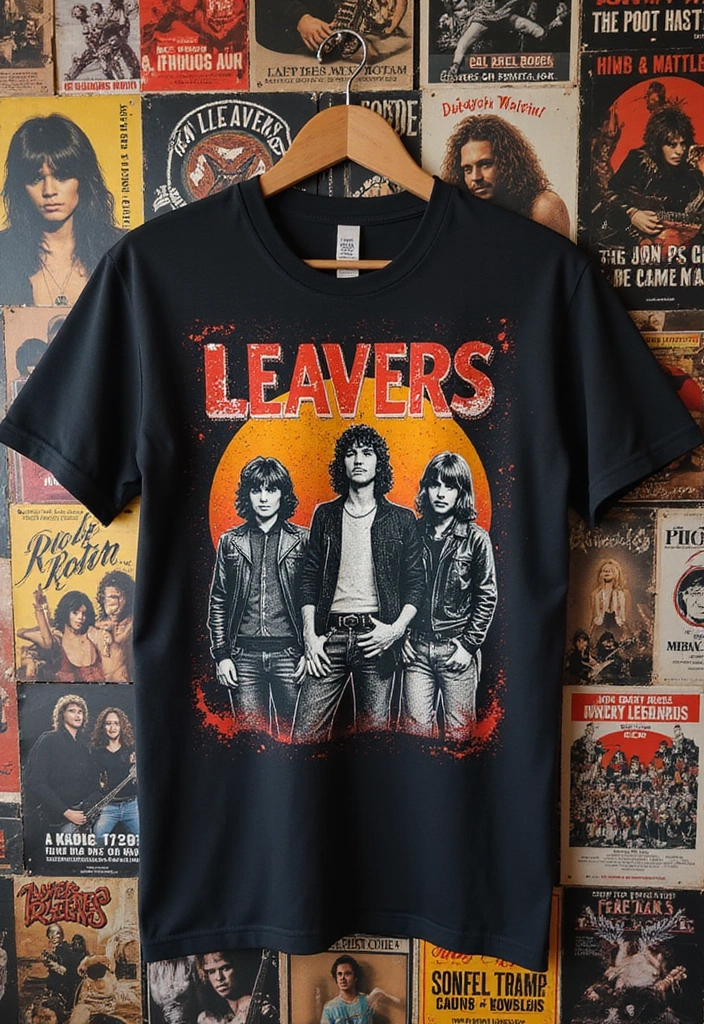
Transform your leavers shirt into a retro band tee with some clever DIY techniques! Start by cutting the shirt into a relaxed fit and distressing the edges for that vintage vibe. For the perfect distressed look, consider using a fabric bleach pen to add some edge and character to your design.
Next, print or paint a design that resembles classic band logos or typography, celebrating your school journey like it’s a concert tour. Using iron-on transfer paper can help you easily create custom graphics that resonate with your school or personal essence. This DIY method allows for a personal touch that makes your shirt truly unique.
Worn-in styles are all about comfort and nostalgia, and they complement laid-back graduation celebrations perfectly. Layer your custom shirt with a stylish denim jacket for a complete look that’s both trendy and cozy. Just don’t forget to check the sizing for the perfect fit! This fun approach allows you to express your identity while creating something special to mark this milestone.
14. Ombre Fade Effect
Ombre is a fantastic way to add depth and color to your leavers shirt! This technique involves gradually blending two or more colors, creating a stunning visual effect. To achieve the ombre look, choose colors that complement each other and start with the lighter shade at the top, fading into the darker one at the bottom.
For this effect, you might consider using Qualia all purpose powder fabric dye. This dye works brilliantly on natural fabrics such as cotton and linen, allowing for vibrant, rich colors that blend beautifully. If you prefer a quicker application, Tulip ColorShot instant fabric spray color provides an easy way to apply color in a spray format. Just remember to work quickly to blend the colors seamlessly!
To help achieve that smooth transition, have some sponge brushes on hand. These foam brushes are perfect for creating a more refined gradient effect, making it easier to blend your colors without harsh lines. This trendy style not only looks fantastic but also exudes a relaxing vibe, perfect for graduation day. Ombre is versatile and can be tailored to match your school colors or personal favorites.
– Practice on a scrap piece of fabric first.
– Use a sponge for a smoother transition.
– Be bold with color choices for maximum impact.
– Ensure you wear gloves for a clean finish.
15. Layered Fabrics
Add dimension to your leavers shirt with layered fabrics! This technique involves overlaying different fabrics or textures to create a stunning, multi-dimensional look. You can incorporate lace, tulle, or even other shirts in contrasting colors. This approach not only adds visual interest but also makes your shirt feel special and unique.
To get started, consider investing in a reliable sewing machine like the Brother XM2701 Sewing Machine. It’s lightweight, full-featured, and comes with 27 stitches to help you achieve those intricate layering techniques with ease. Additionally, having some good quality fabric scissors, like the LIVINGO Premium Tailor Scissors, ensures clean cuts and precise edges, making your DIY project smooth and enjoyable.
You might need some basic sewing skills, but the effects can be striking! Layering provides opportunities to create volume and movement, perfect for showcasing your style. Plus, it’s an exercise in creativity as you mix and match to find the perfect combinations.
When choosing materials, think about using a variety fabric bundle, such as the 7Pcs 20″ x 20″ Cotton Fabric DIY Making Supplies. This bundle allows you to experiment with different colors and patterns, which can enhance the overall look of your layered shirt.
– Choose fabrics that complement each other well.
– Consider the seasons when selecting your fabrics.
– Use a sewing machine for clean finishing.
– Experiment with layering techniques like ruffles or pleats.
16. DIY Rhinestone Accents
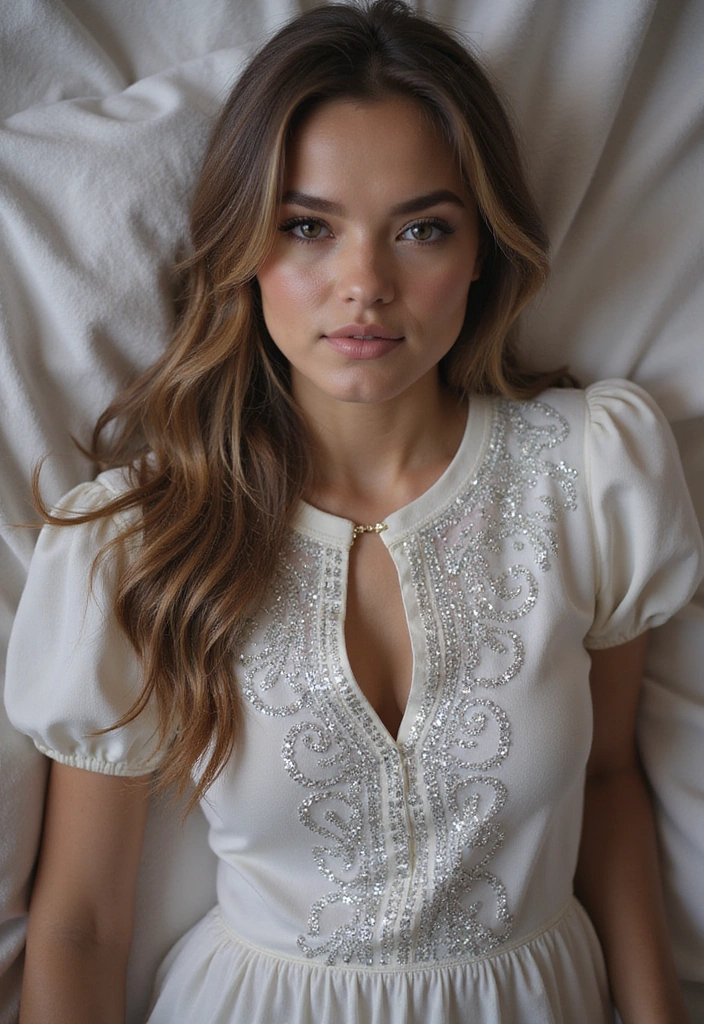
Want to add some sparkle to your graduation shirt? DIY rhinestone accents are the way to go! This fun addition can elevate your shirt with a touch of glam. You can create designs with rhinestones, like initials, school logos, or stars, giving your shirt a dazzling finish.
To get started, you’ll need some reliable supplies. Investing in fabric glue is essential for securely attaching your rhinestones. This washable clear clothing glue is perfect for fabrics like cotton and denim, ensuring your designs stay put without ruining your shirt.
To make the application process easier, consider using a rhinestone applicator tool. This handy tool comes with two wax tips, allowing you to pick and place rhinestones with precision, making your crafting experience smoother and more enjoyable.
Don’t forget to stock up on rhinestones! A great option is the assorted rhinestones pack, which includes an array of multicolored flatback gems in various sizes. This variety will add visual interest to your designs and let your creativity shine.
Remember, when applying your rhinestones, choose a mix of sizes for an eye-catching look and be mindful of placement for balance. Allow adequate time for the glue to dry, and feel free to pair your rhinestone accents with other embellishments for a layered effect. The sparkle is perfect for graduation photos and celebrations!
17. Colorful Stencil Art
Turn your shirt into a canvas with colorful stencil art! This method is perfect for those who may not have a steady hand for freehand painting. Select stencils that represent your school or personal style, such as geometric shapes, animals, or even inspiring quotes. A great option to consider is this Stencil Set for Fabric, which includes 42 reusable templates, making it easy to create a consistent design.
Simply place the stencil on the shirt and use fabric spray paint or a sponge to apply your chosen colors. The Fabric Spray Paint Set is an excellent choice, featuring a variety of colors that can yield a clean and professional-looking design. You can even play with layering stencils for added complexity and visual interest! To achieve the best results, use a Sponge Brush Set that helps you apply paint evenly and can work well in various sizes.
– Test the stencil on scrap fabric first.
– Choose a theme that resonates with your personality.
– Work in a well-ventilated area to avoid fumes.
– Allow ample drying time before wearing.
18. Custom Name and Year
Last but not least, a custom name and year design is classic, timeless, and meaningful. Use fabric paint to display your name and graduation year prominently on your shirt. This not only personalizes your attire but also makes it a wonderful keepsake that you can cherish for years to come. The variety of colors in this set can help you mix and match to align with your school theme.
You can also use iron-on letters for a quick and clean way to add your name and graduation year. These letters are easy to apply and provide a polished look, making your shirt stand out on graduation day.
If you’re feeling a bit crafty, consider incorporating some stitching with an embroidery kit. It’s a fun way to add a personal touch and showcase your creativity with various stitches. Whichever method you choose, this idea blends simplicity and meaning, making it perfect for a graduation celebration!
– Choose a font that reflects your personality.
– Mix colors to match your school theme.
– Make sure everything is securely attached or painted for durability.
– Keep it stylish and straightforward, allowing your name to shine.
Conclusion

These DIY leavers shirt ideas offer you a fantastic opportunity to express your creativity on graduation day! Whether you choose to go bold with colors, stick to minimalism, or incorporate your personal stories, every shirt will reflect your unique journey. Each piece will become a treasured keepsake, reminding you of the friendships and experiences you’ve gained.
So, gather your crafting supplies, unleash your creative spirit, and make this graduation unforgettable with a leavers shirt that’s truly you!
Note: We aim to provide accurate product links, but some may occasionally expire or become unavailable. If this happens, please search directly on Amazon for the product or a suitable alternative.
This post contains Amazon affiliate links, meaning I may earn a small commission if you purchase through my links, at no extra cost to you.